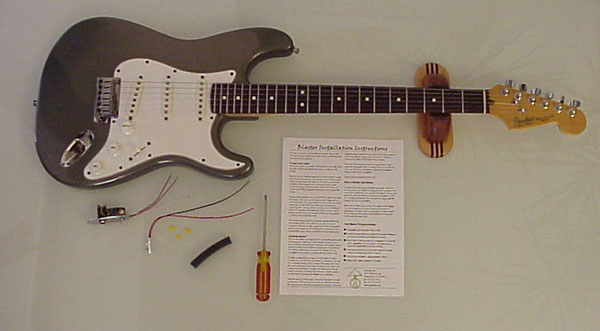
These pictures illustrate Blaster installation. You can also get a
PDF file of the instruction sheet that comes with the Blaster.
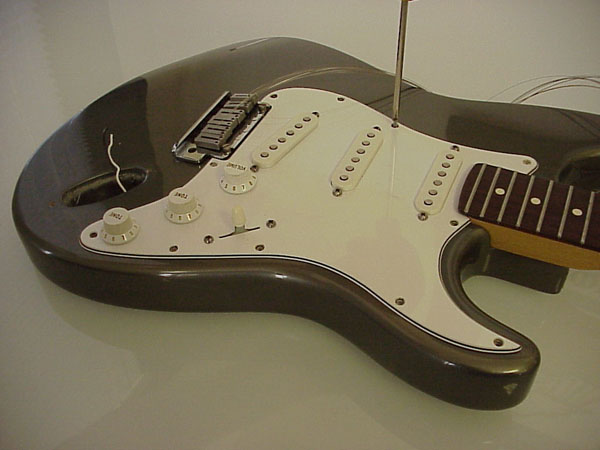
Gather all materials together on a large well lit work area.
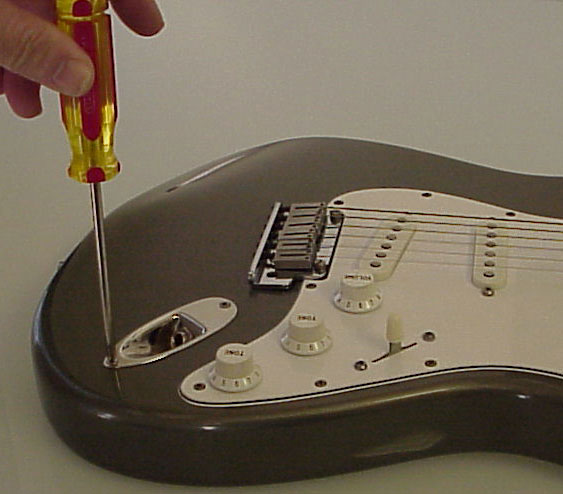
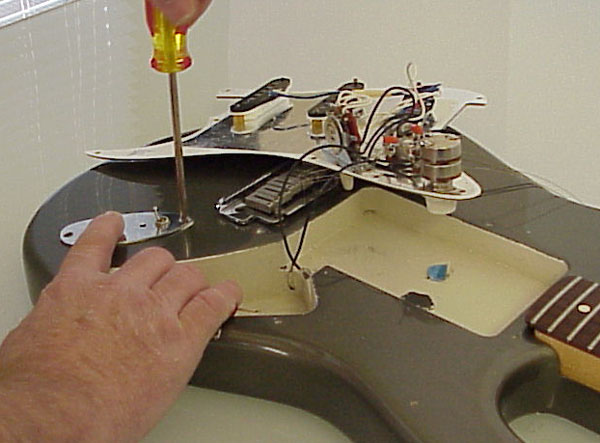
Unscrew the jack plate.
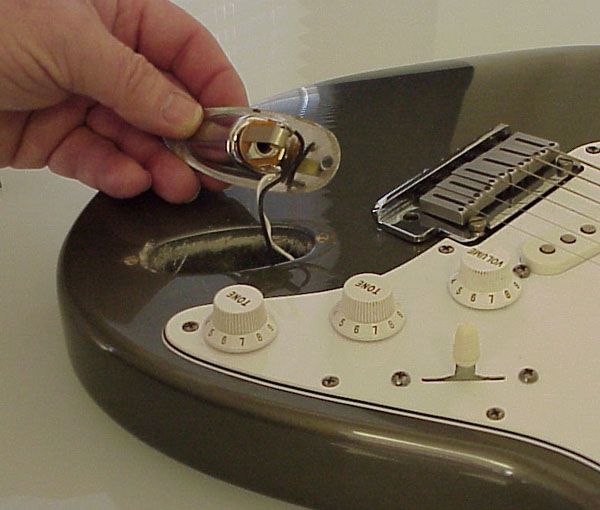
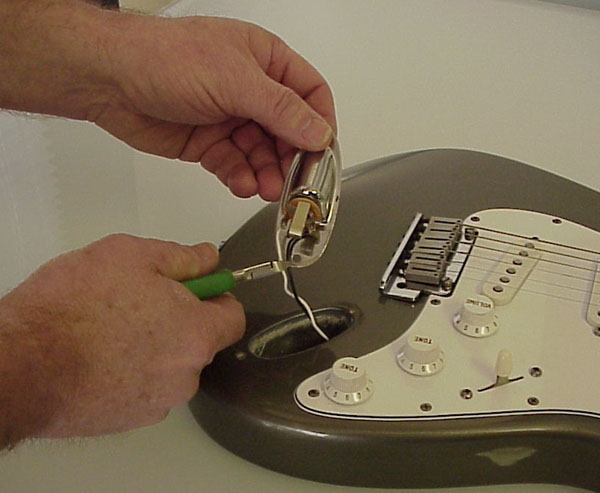
Lift the jack plate assembly.
Clip the wires connecting to the jack close to the jack and save for posterity.
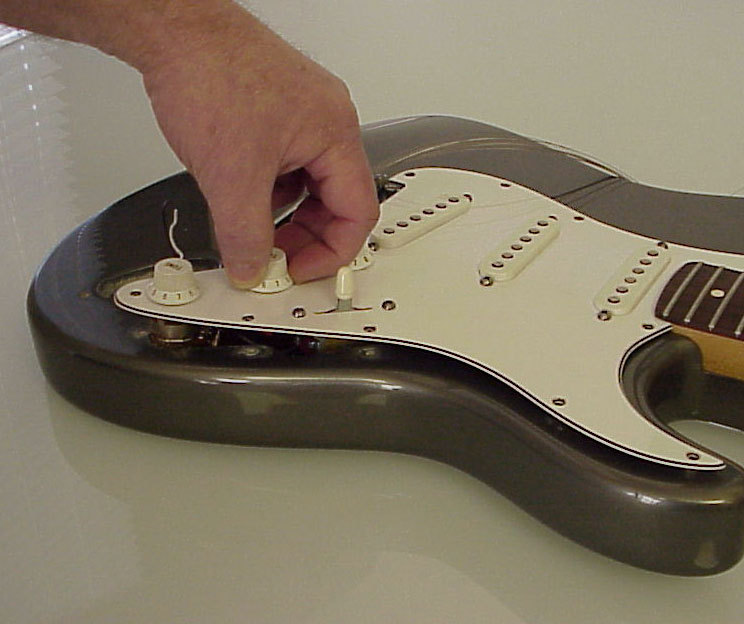
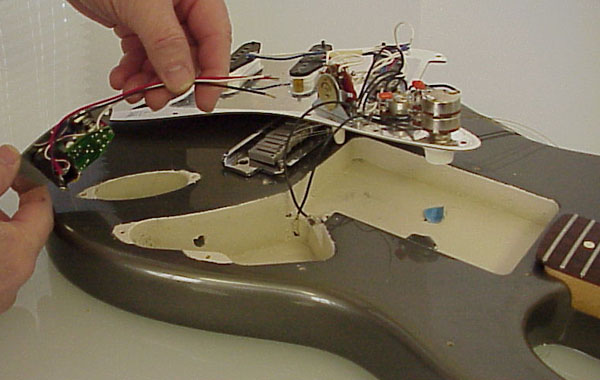
Unscrew the pickguard from the guitar. Note: dont't loosen the screws that hold on the pickups or the 5-way switch. Remove the strings.
Grab the volume pot and lift the pickguard off the guitar.
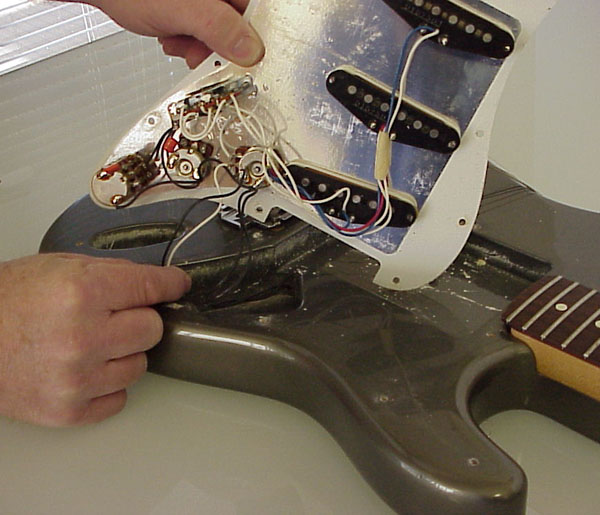
Pull the wires that feed into the jack cavity.
Identify the black and white wires that were connected to the jack.
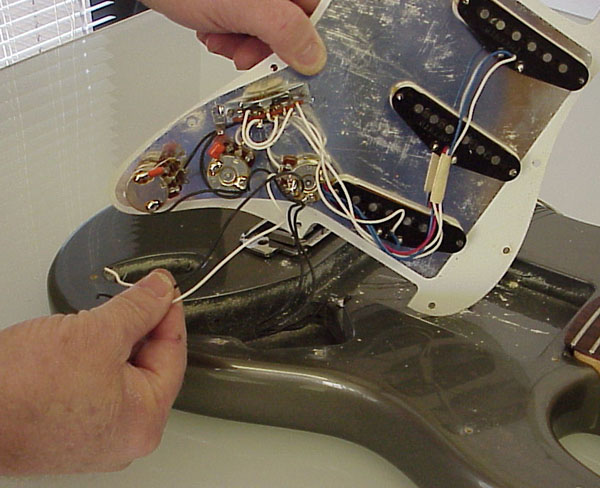
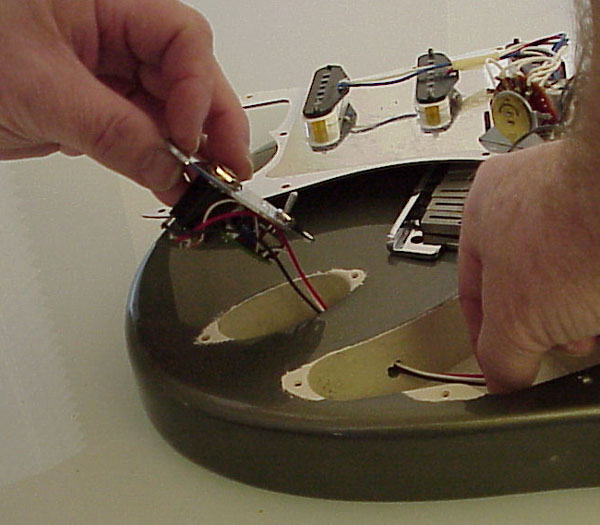
Clip these wires so that only about 3 inches of length remains.
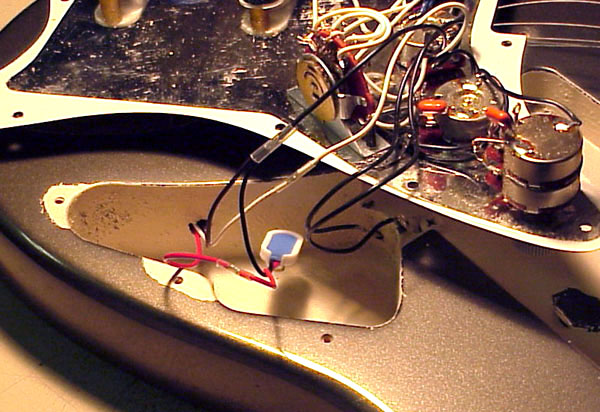
Load Blaster in jack plate cavity. Note: we shielded the jack cavity and main electronics cavity with silver conductive paint before completing this step
Feed the three wires from the Blaster through to the main electronics cavity.
Screw Blaster mounting plate to guitar with original screws.
Connect red to red, black to black and white to white. If using wire nuts, don't twist wires first, rather, let the nut do that for you.
Alternate soldering method for connecting wires. We recommend using shrink tubing.
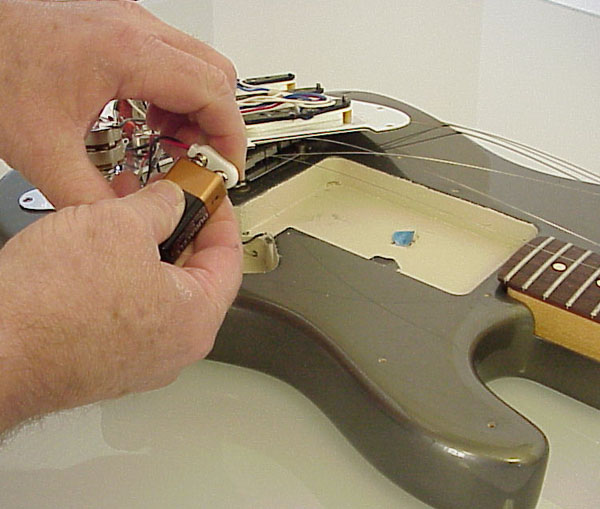
Connect 9V battery.
Stick the supplied adhesive foam to the back of the pots. This will keep the battery in place.
Check all wires and components are clear before reattaching pickguard.